Hanging PawnsAuthor: FM Vidar Grahn
The Hanging Pawns structure is a direct cousin of the Isolated Queen's Pawn (IQP). In fact, hanging pawns most frequently evolve straight out of an IQP position, usually when the side defending against the IQP places a knight on d5, trades it off on c3, and forces white to take back with the b-pawn, leading to a pawn island consisting of a d- and c-pawn.
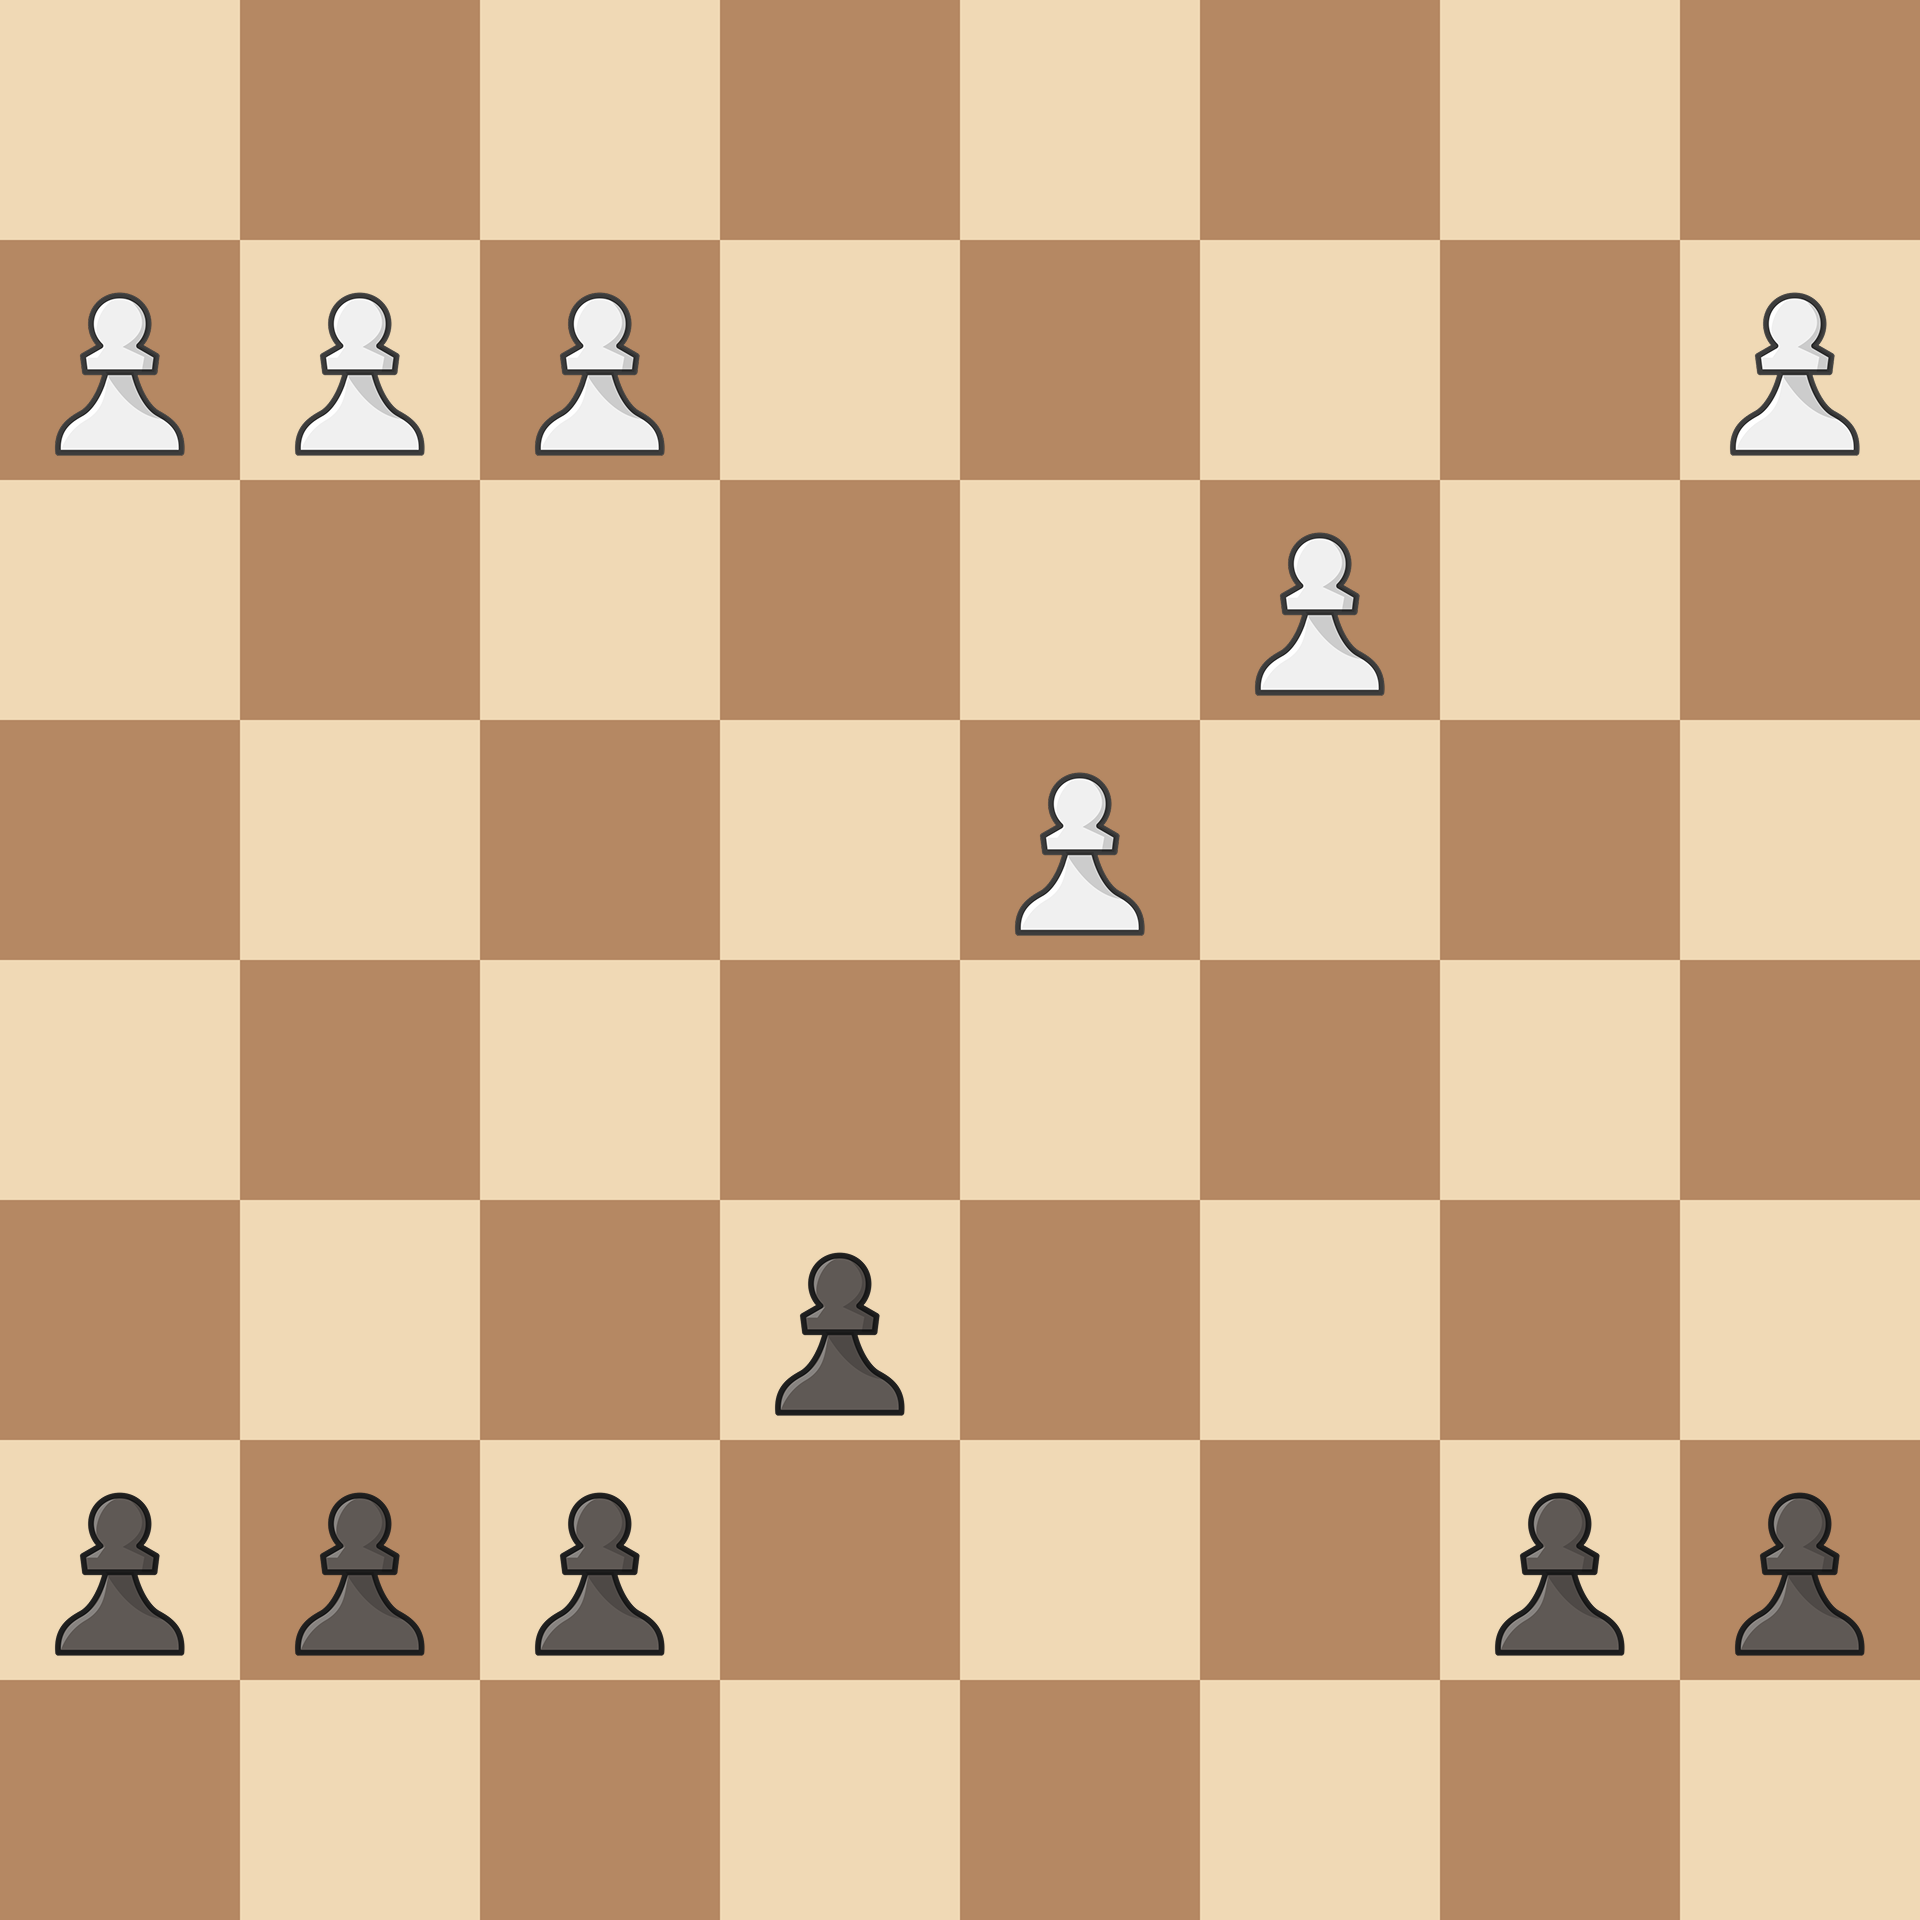
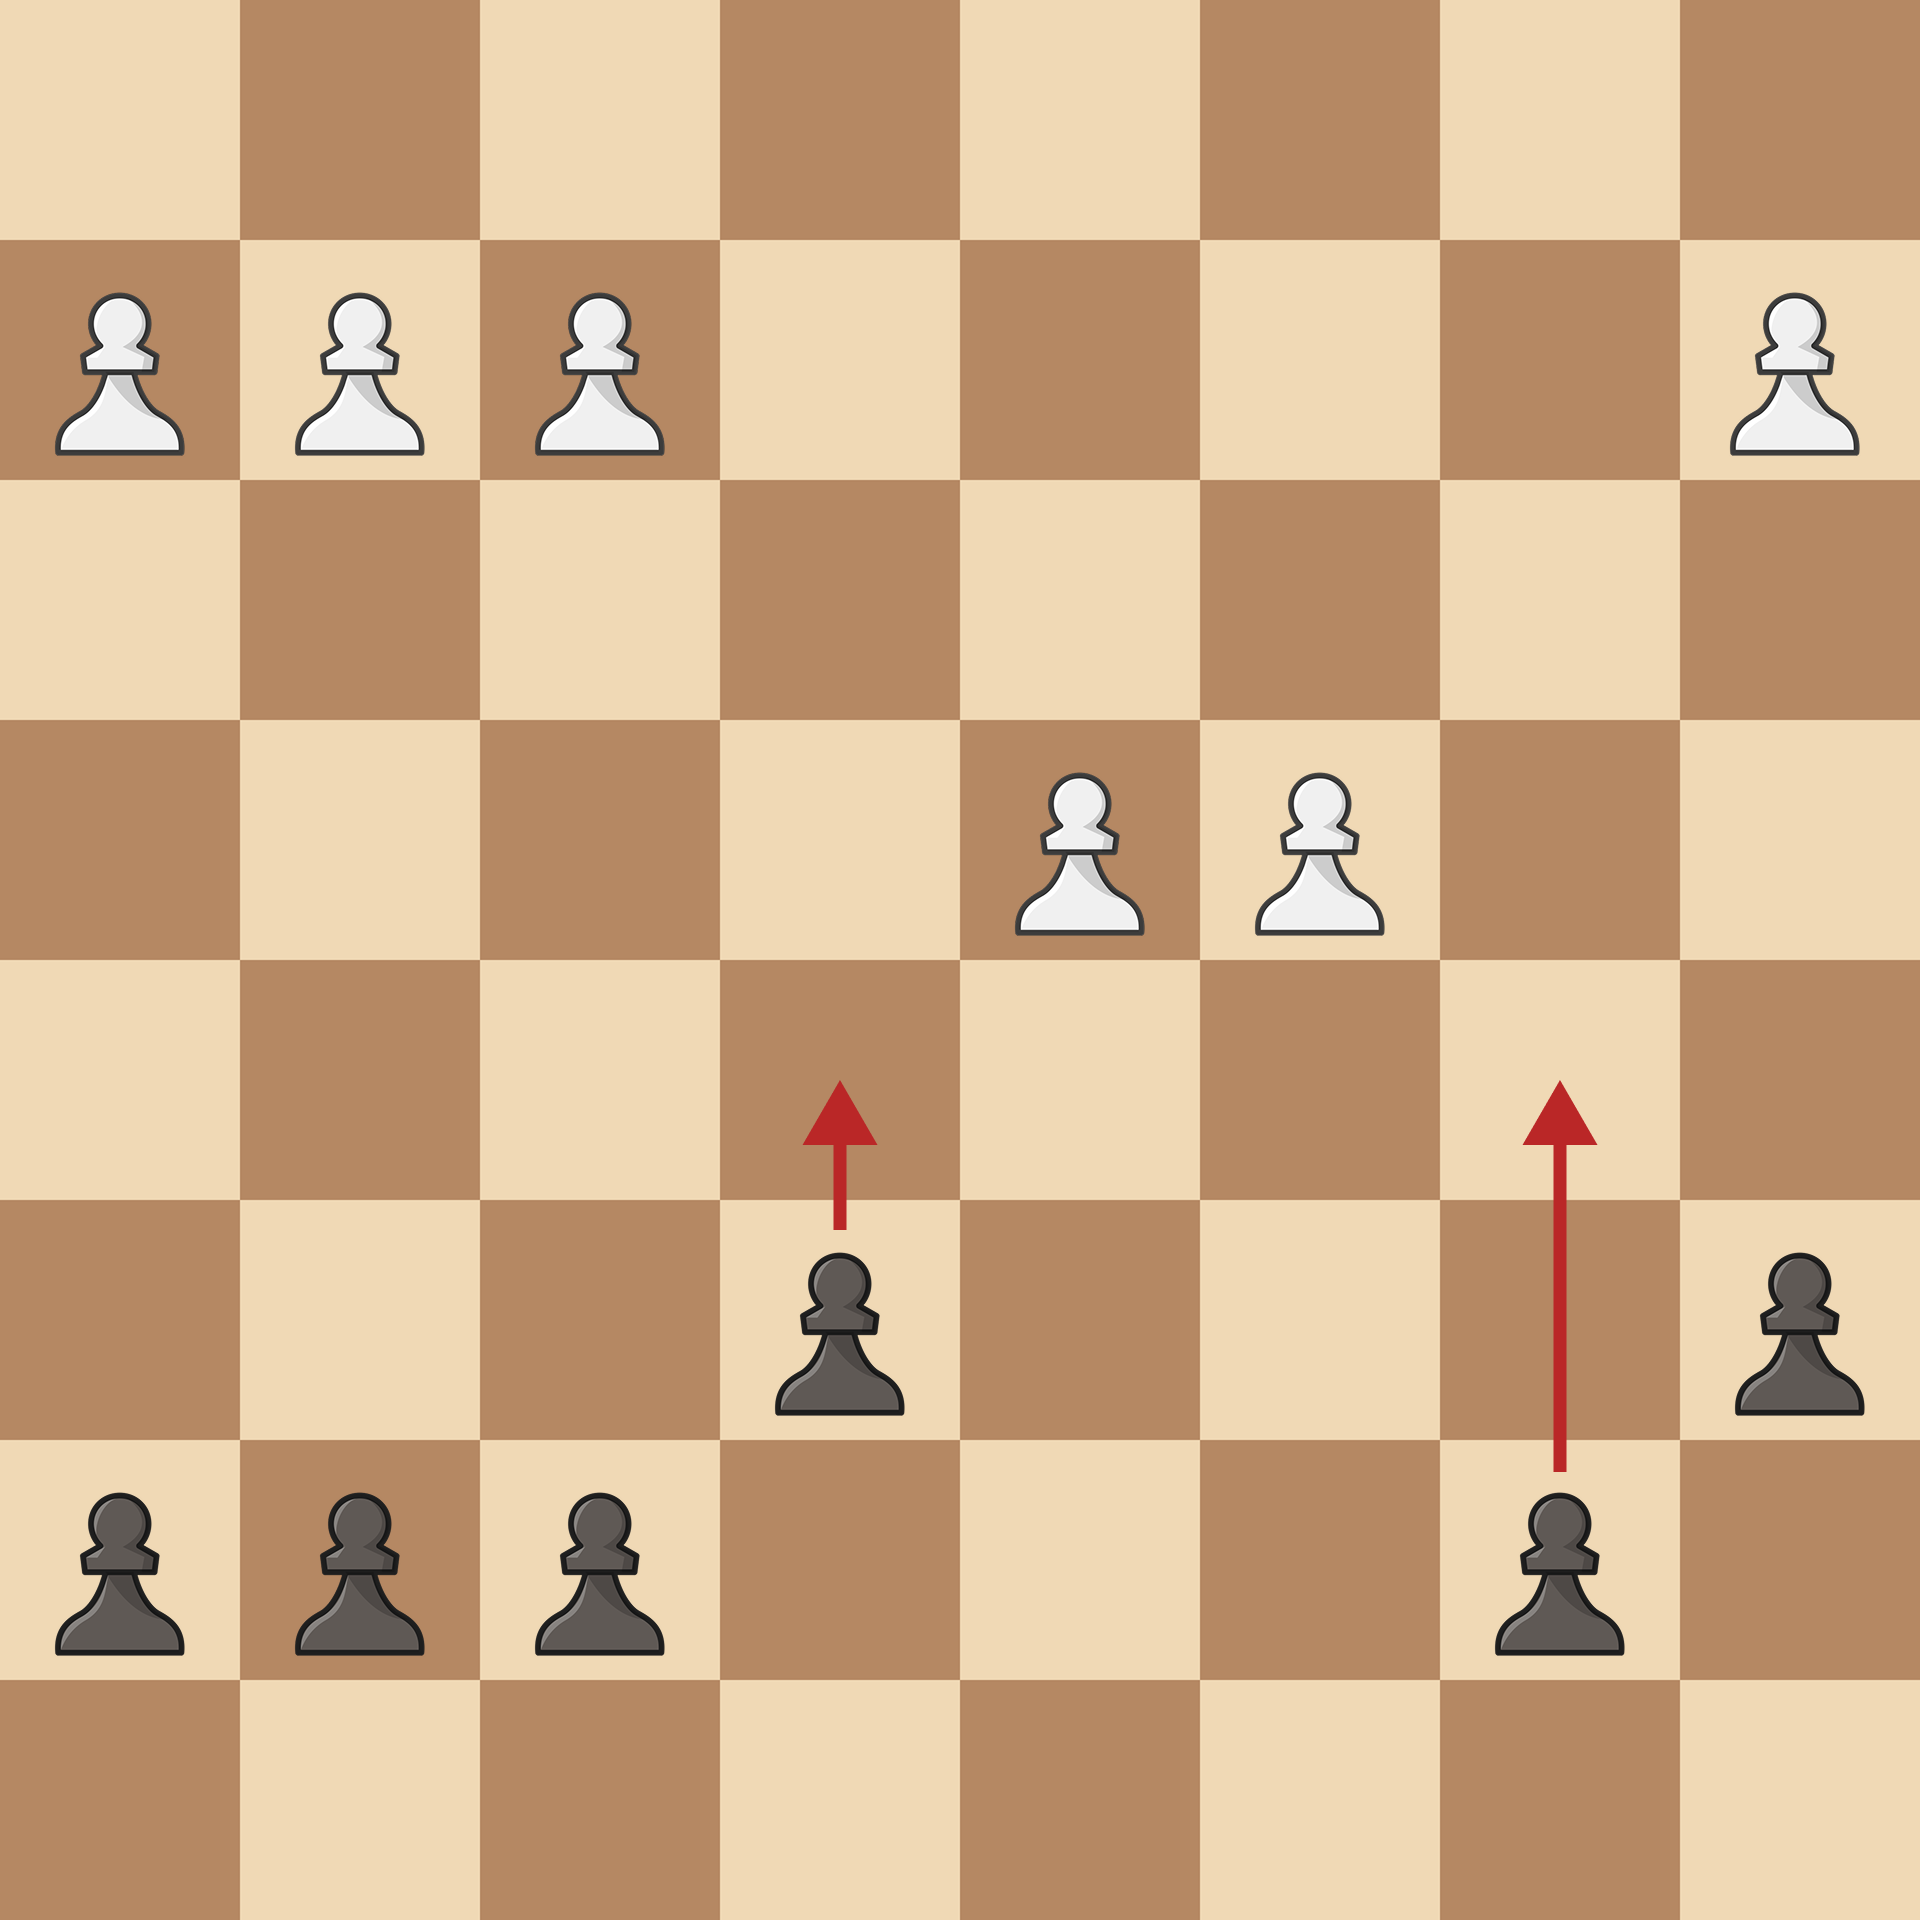
The defining feature of this structure is a pair of side-by-side pawns on the c- and d-files (typically d4 and c3/c4 for White) with no adjacent pawns on the b- or e-files to support them. They are called "hanging" because they stand on open files, unable to be defended by fellow pawns, yet they command immense space.
Just like the IQP, White holds a dynamic middlegame edge thanks to a spatial advantage, while Black fights to simplify the board. If White's pawns stay fluid, they are a weapon; if Black can freeze them, they become a massive liability.
White's Plans
White's goals heavily mirror the IQP playbook, relying on the central space and open lines these two pawns provide.
1. Launch a Kingside Attack
Because the c4- and d4-pawns control crucial central squares (b5, c5, d5, e5), White’s pieces have a stable platform to coordinate an attack. A standard attacking blueprint includes anchoring a knight on e5, tucking the light-squared bishop away on c2, and forming a battery with Qd3 to eye the h7-square.

The rooks usually belong behind the pawns along the c- and d-file, but they can also work great on the e-file. Lifting a rook via the third rank (Re1-e3-h3) is a effective attacking motif:
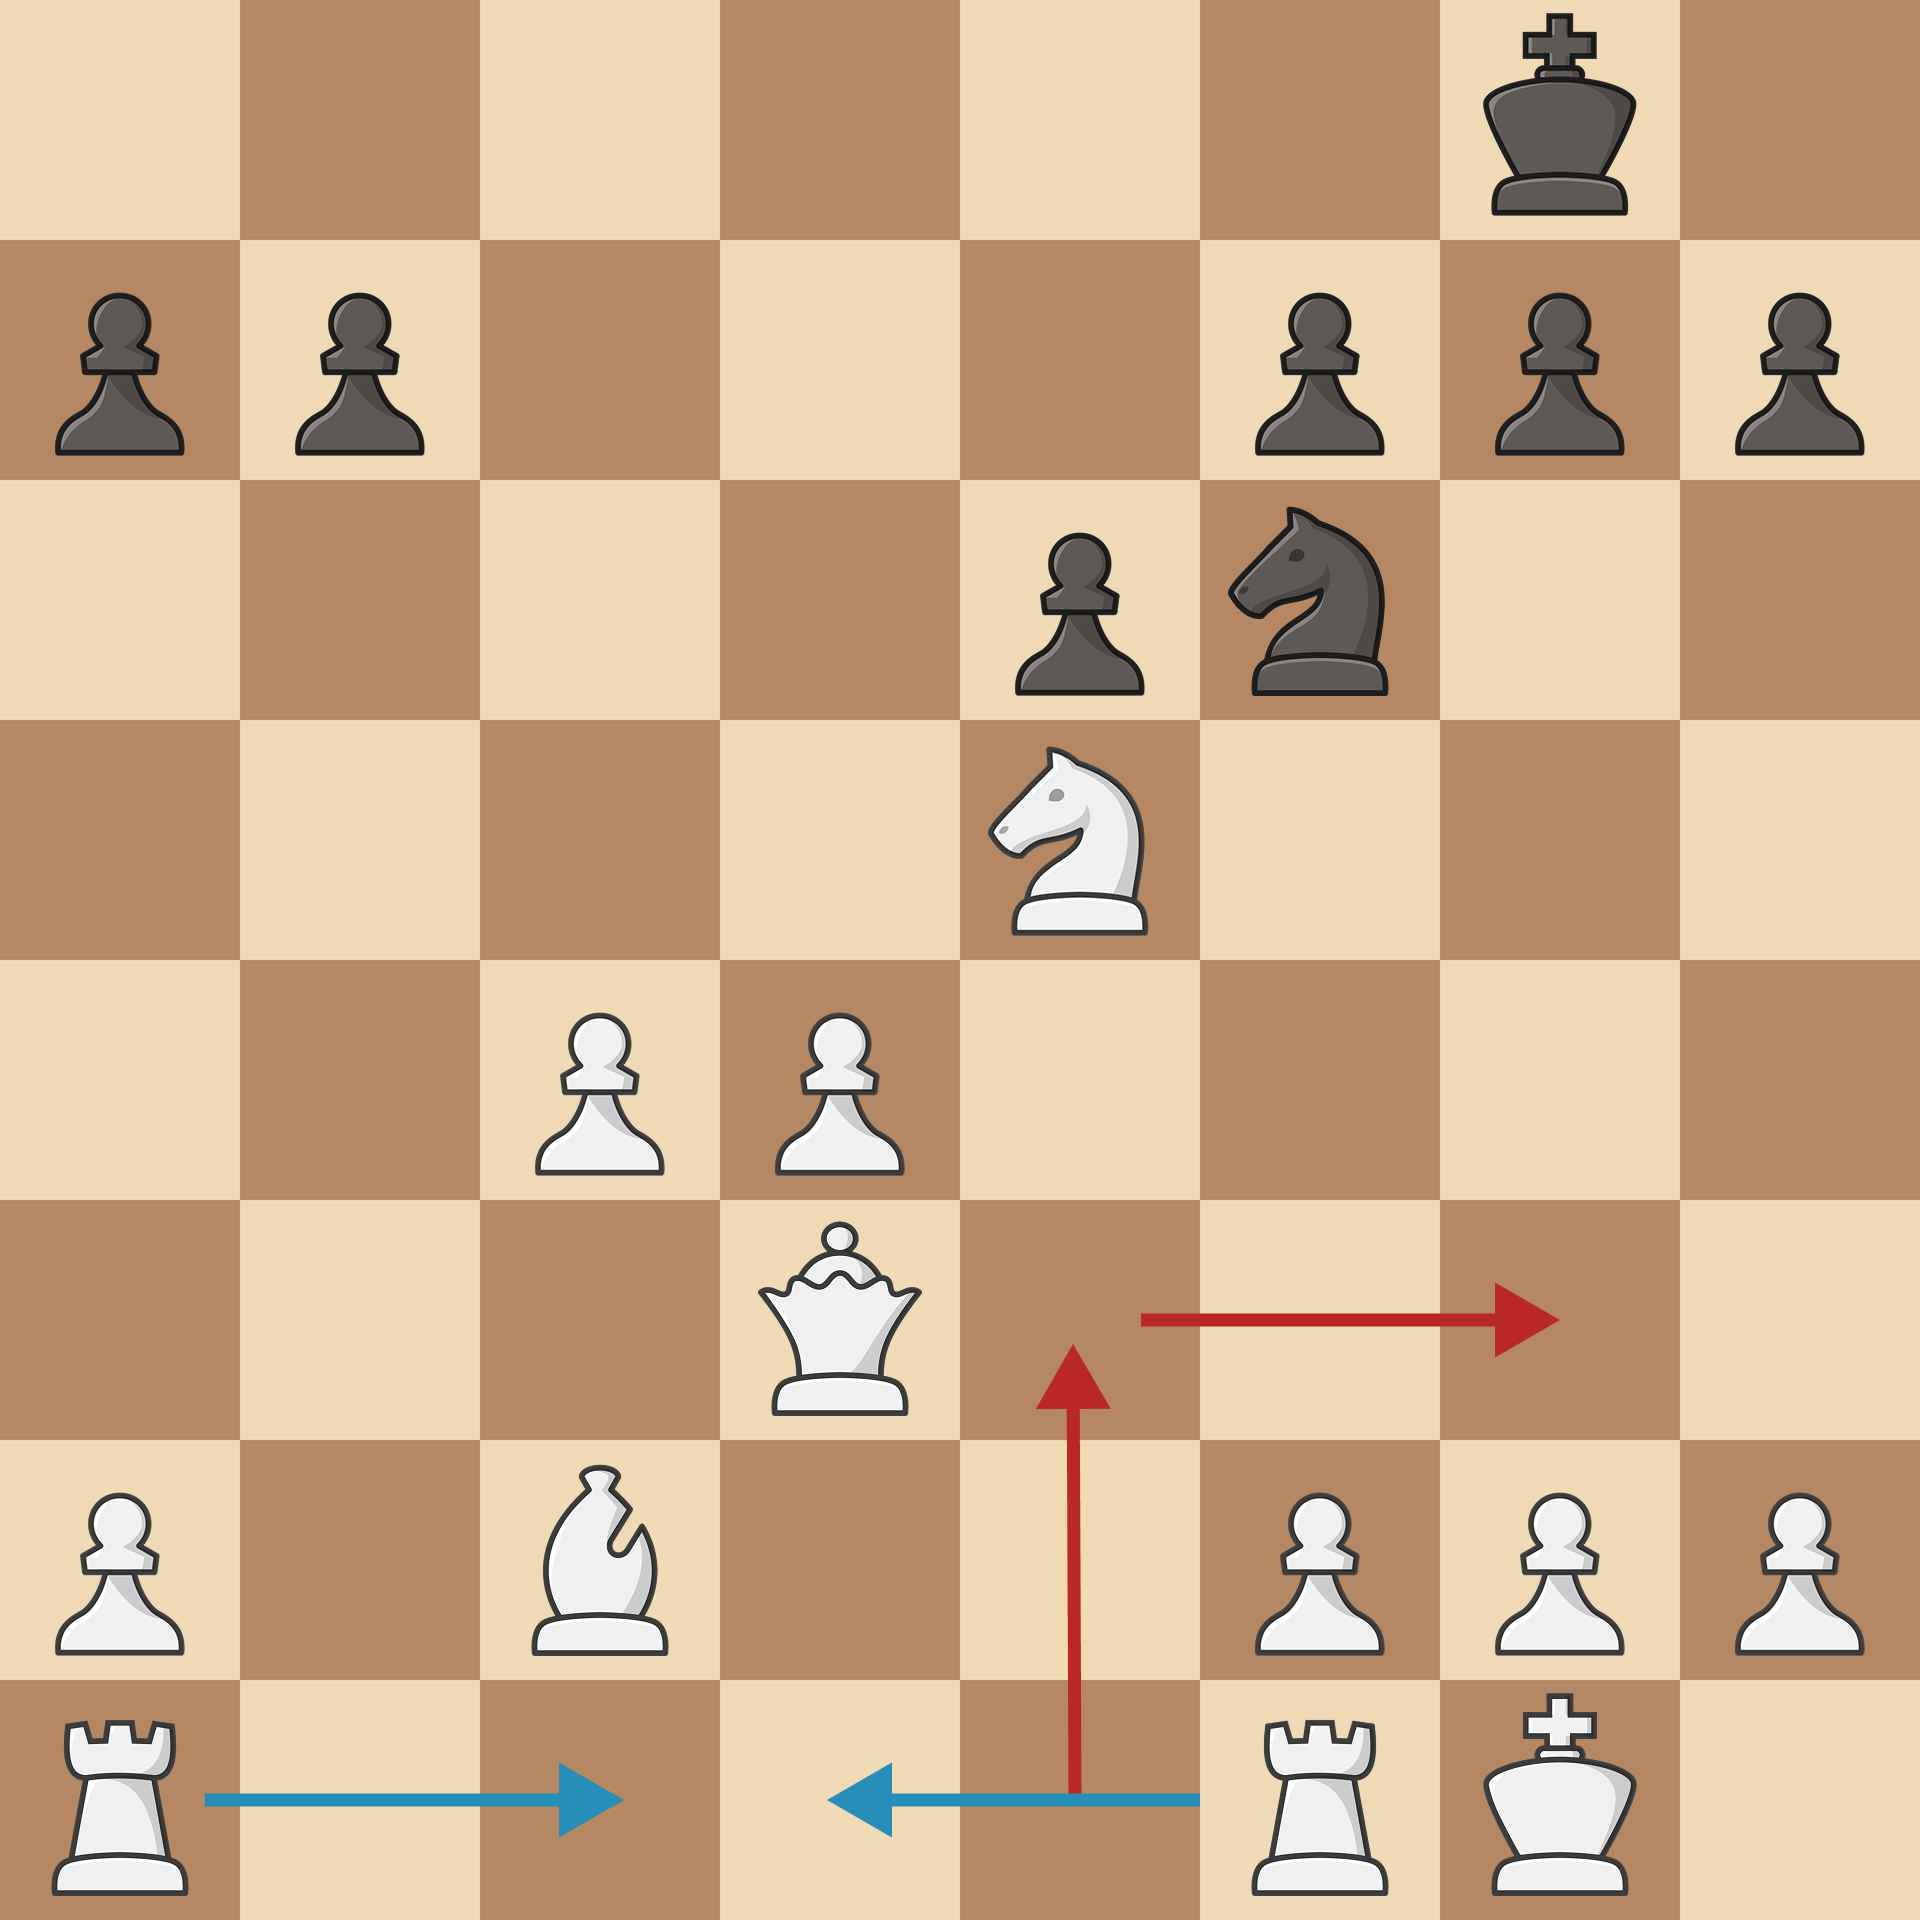
2. The d4-d5 Central Break
White doesn't intend to keep the pawns sitting side-by-side forever. Pushing d4-d5 at the right moment can rip open lines toward Black's king or instantly create a powerful, protected passed pawn running down the d-file.
Black's Plans
1. Liquidate and Simplify
Every piece trade favors Black. By removing pieces from the board, Black systematically strips White of their attacking potential, bringing the game closer to an endgame where the undefended c4- and d4-pawns become incredibly weak targets.
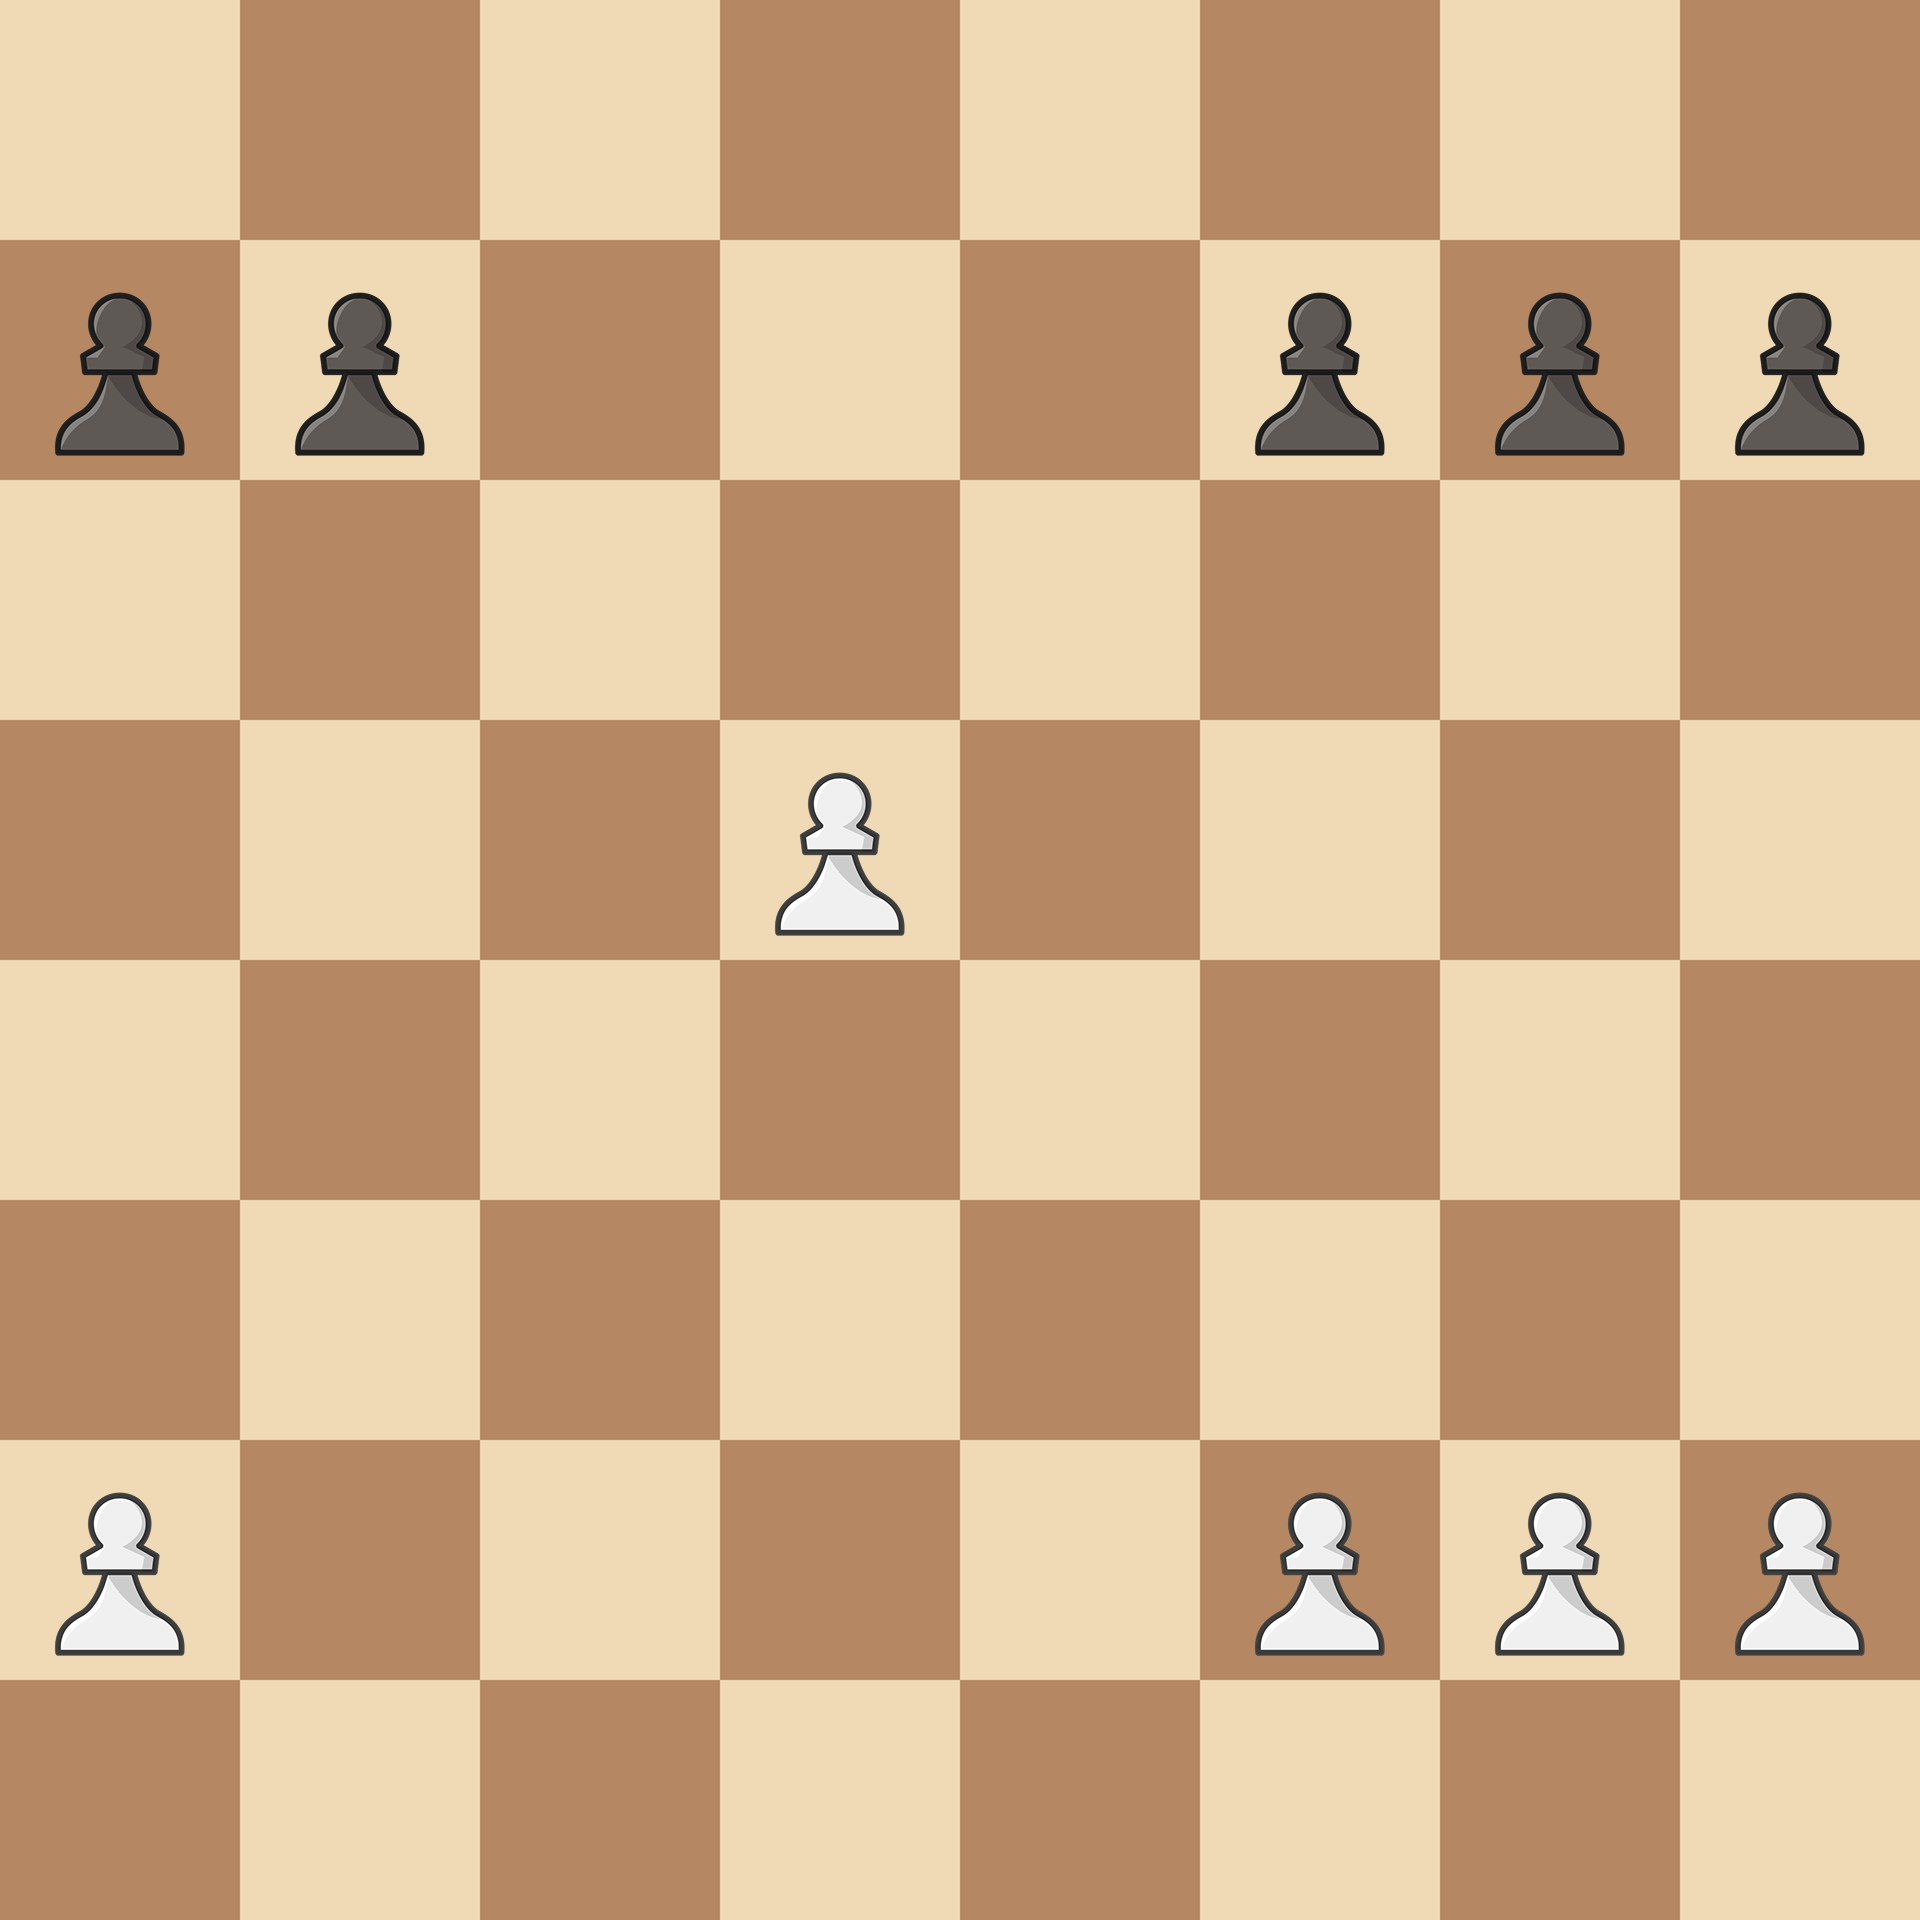
2. Freeze and Blockade
The absolute nightmare scenario for White is having the hanging pawns fully blocked by Black's pieces:
By firmly placing pieces directly in front of the pawns (on c4 and d5), Black paralyzes White's space advantage. If the c-pawn is already pushed to c4, you can try to pressure it and provoke it to push c4-c5, giving you access to the d5-outpost.
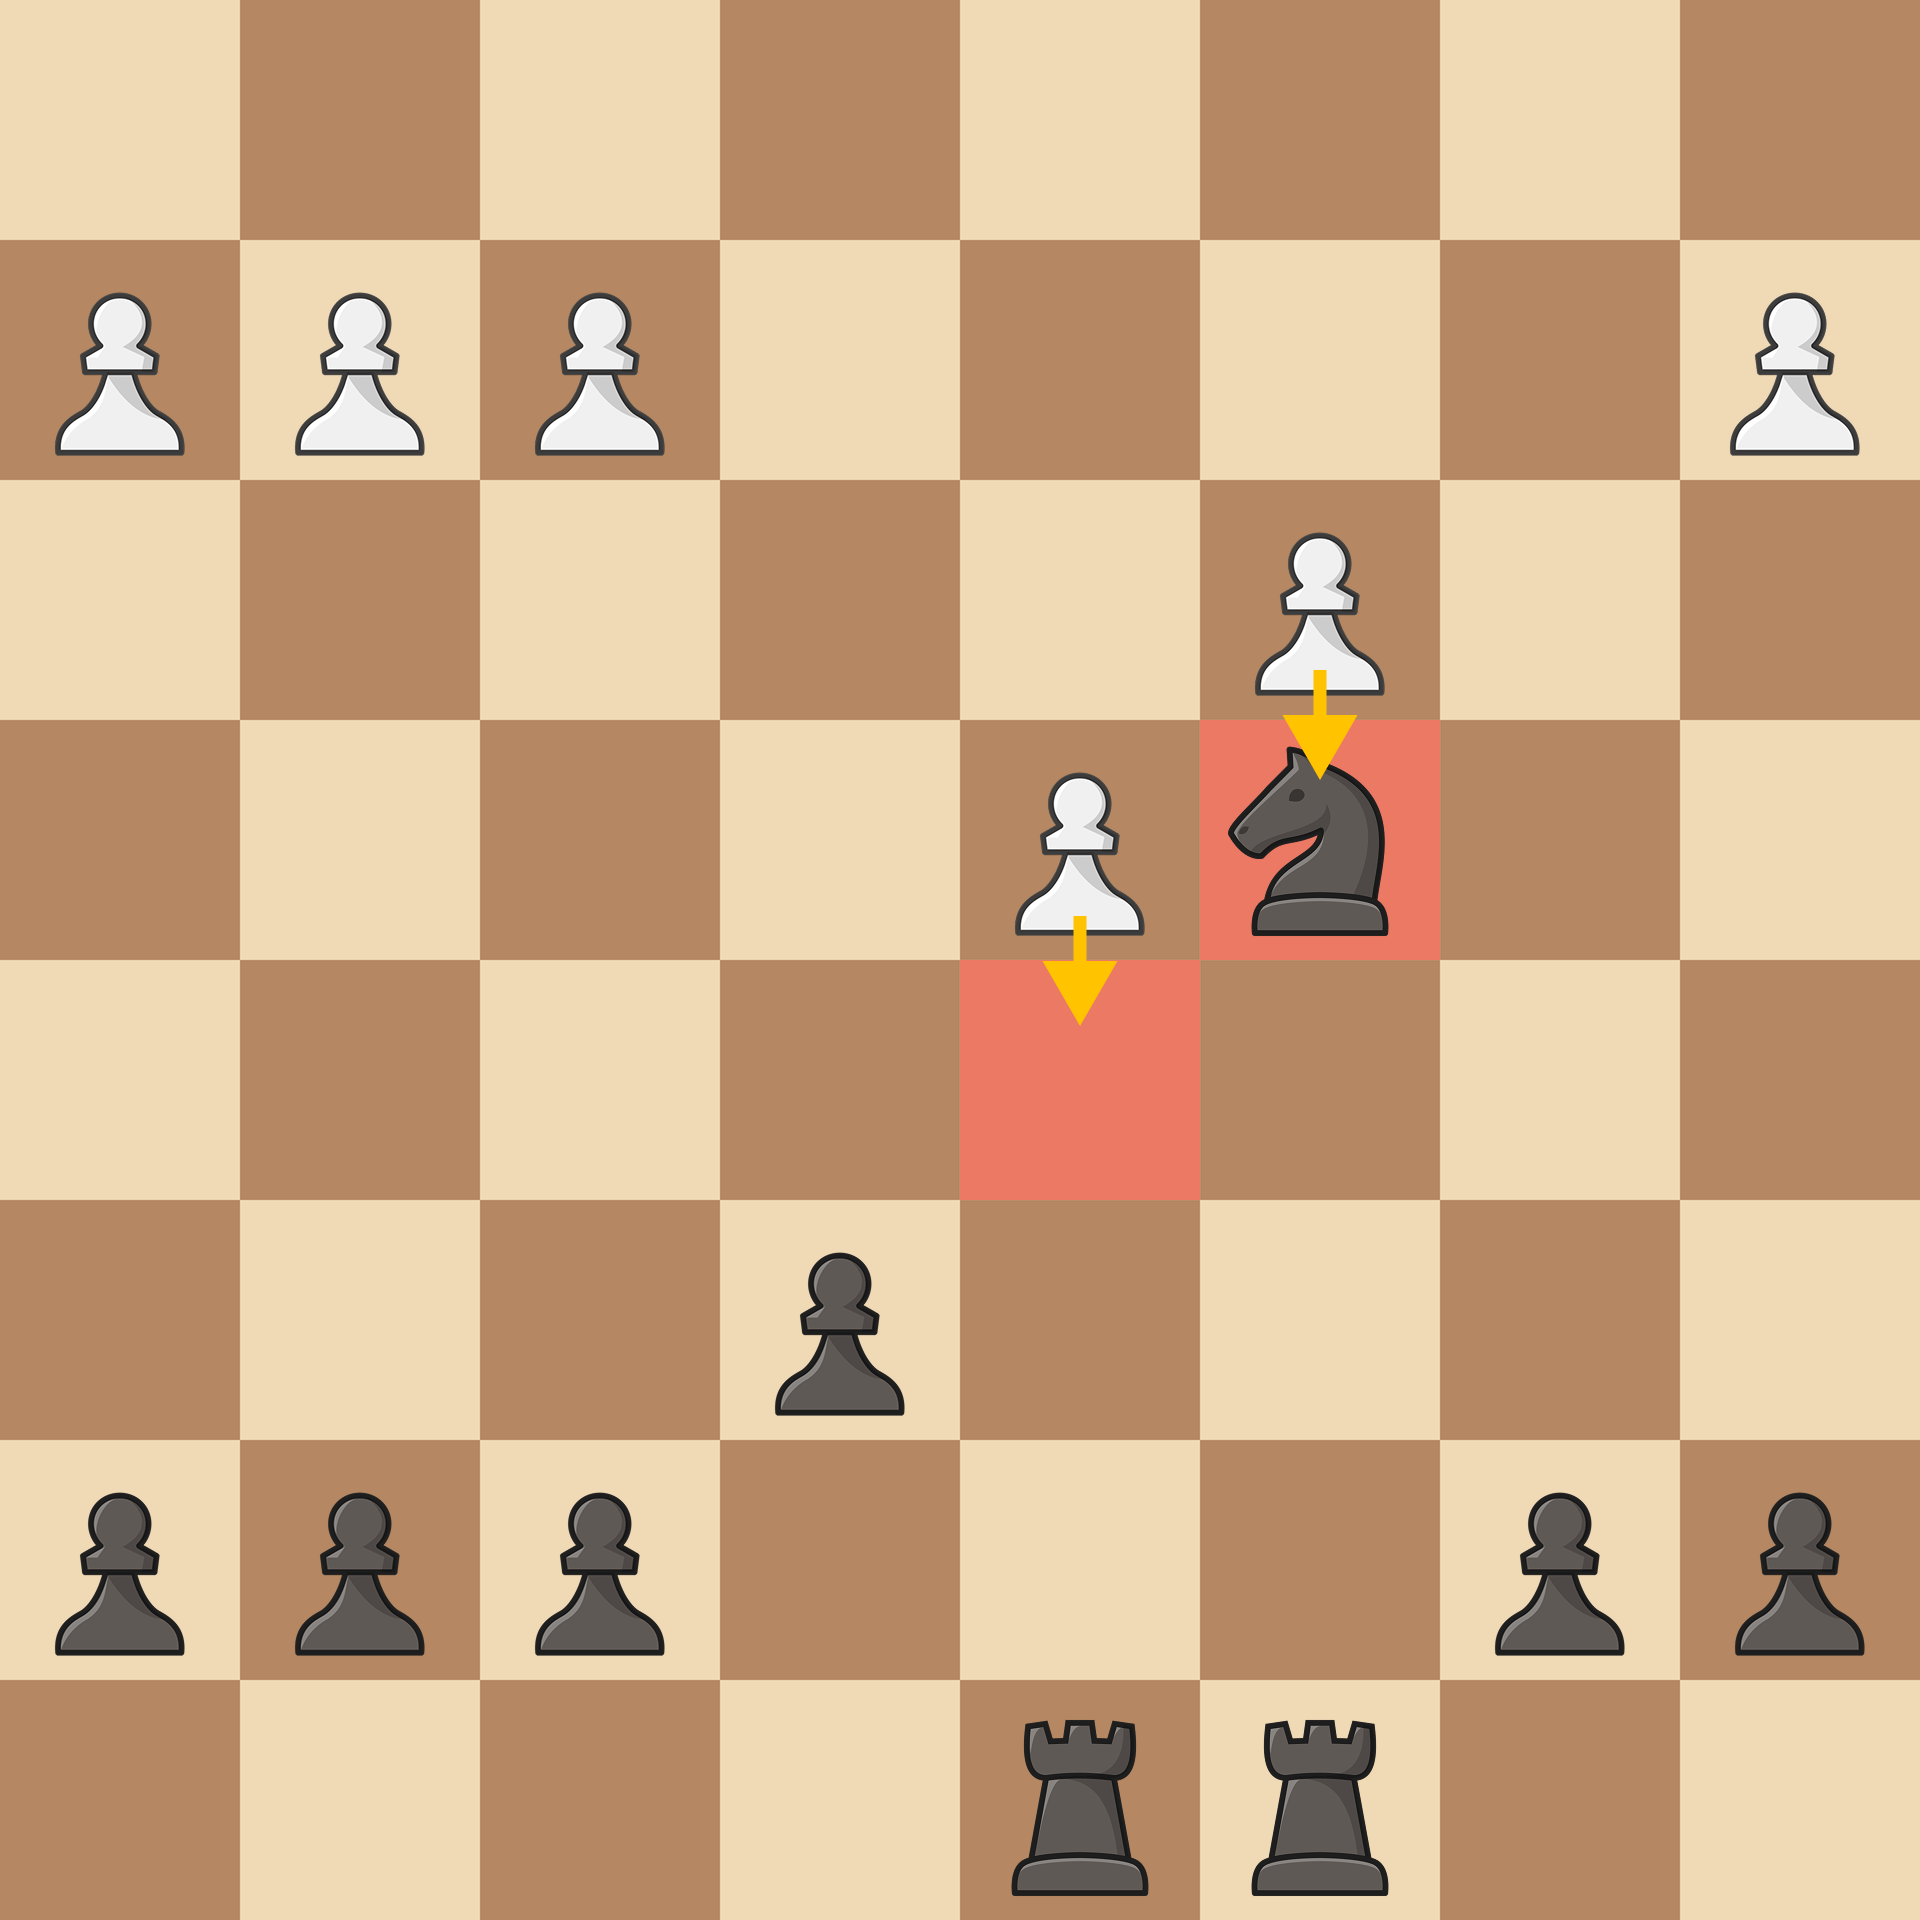
3. Chip Away with Side Breaks (...b6-b5 or ...e6-e5)
If Black wants to actively shatter White's center, they can use flank pawn breaks. Striking with ...b6-b5 or ...e6-e5 forces White to make a painful decision.
If White trades, their beautiful duo is destroyed. Often, these breaks force White to push one pawn forward, losing control over an important square: c5, respectively d5.
Model Games
Playing With The Hanging Pawns
- Curt Hansen - Kiril Dimitrov Georgiev 1-0
- Svetozar Gligoric - Paul Keres 1-0
- Levon Aronian - Hrvoje Stevic 1-0
Playing Against The Hanging Pawns
- Akiba Rubinstein - Georg Salwe 1-0
- Svetozar Gligoric - Paul Keres
- Kaarle-Sakari Ojanen - Petar Trifunovic
Sources & Credits
The framework for this guide is mainly inspired by the excellent structural breakdowns in Mauricio Flores Ríos' Chess Structures: A Grandmaster Guide. To build on his foundational work, I have integrated my own notes and added some additional model games.